
10 tips for hardcore kicks punches

Want to level up in Hardcore & Uptempo Production?
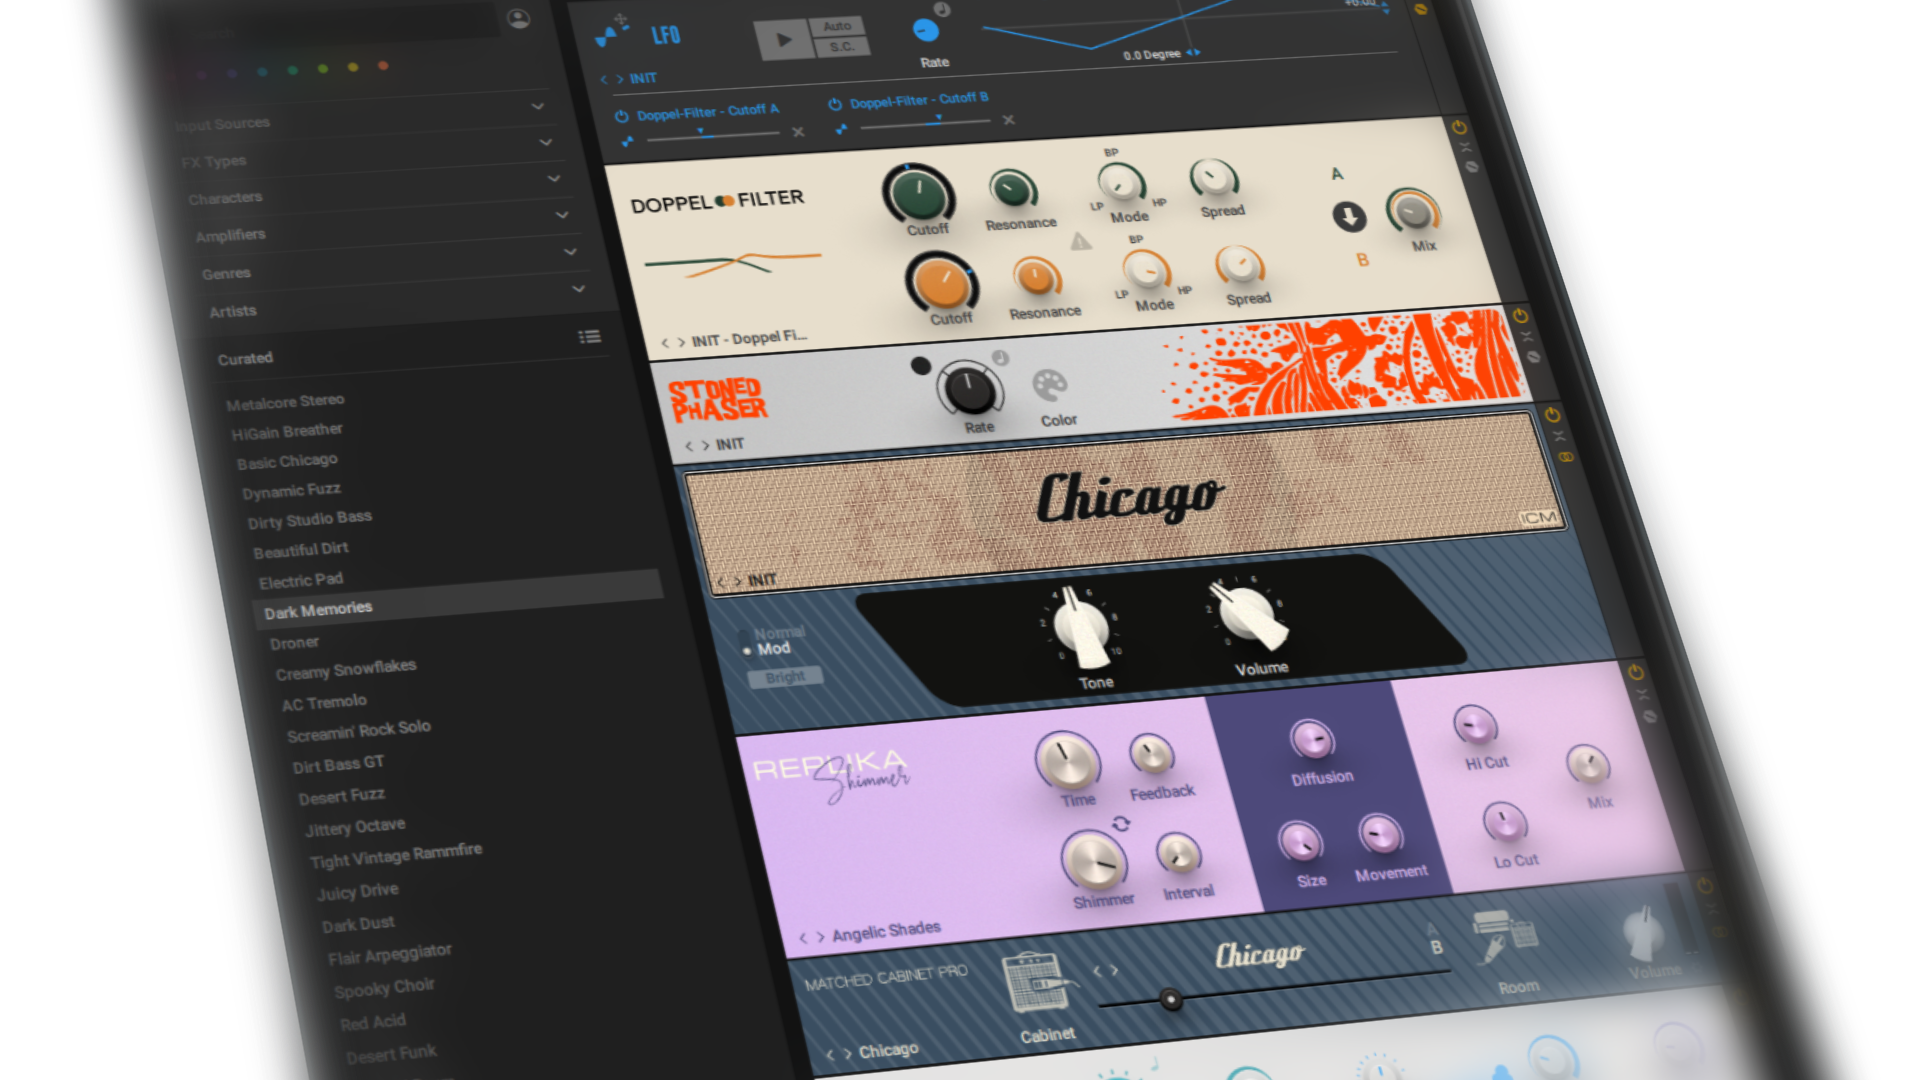
Check out the Uptempo Kick Design Guide on my Patreon. The only guide you’ll ever need.
Click the picture to watch the full deep dive.
power of the kick drum
Mastering the hardcore kick punch is one of the biggest challenges in hardcore music production. If you've ever spent hours tweaking a kick, only to end up with a sound that's weak, thin, or, even worse, boxy, you know how frustrating it can be. That lifeless sound is the kind of mistake that can hold your entire track back.
I remember when this was a complete mystery to me and it was one of the most frustrating things I ever felt as a producer. My entire mission with HCONTUNES is to demystify these processes and make them as simple as they can be, so you can focus on creativity.
In this comprehensive hardcore kick tutorial/blog, we'll dive into 10 essential tips for a better hardcore kick punch that will transform your sound design workflow. These aren't just generic tips, they're outside-the-box techniques I've developed over years of experimenting, and they've given me the freedom to create the kicks I actually want to make.
Let's get to work and get you the professional results you’re looking for.
Tip 1: Use Harmor to resynthesize your punch
Open Harmor and go to the preset selector, choose the “Resynthesis” preset.
Drag your punch sound into the “Image” section of Harmor.
In the Effects section, add the “Log” distortion for some extra character and warmth. (Turn the distortion filter all the way up)
Now, move to the Phaser section:
Set Mix to 100%
Set Speed to Still
Experiment with different Phaser modes like Classic, Deeper, or Twins for unique variations.
Play around with the Width dial to further shape the sound to your liking.
Make sure to play C5 to avoid any unintended pitch changes, which might break the sound. (Although sometimes, a little pitch change can actually enhance the result!)

Check out this video to learn more about harmor in hard dance. It goes way deeper than just using phaser and some harmor distortion.
Tip 2: Layer a Callable Vowel Under the Punch for Added Depth

To add organic depth and vocal-like qualities to your kick, a great technique is to layer a vowel sound—like "ah," "oo," or "eh"—underneath the punch. The result is a kick with surprising character and a unique, human-like feel. For the best results, I highly recommend using high-quality samples if you don't already have access to a library of these sounds.
Here is how to do it:
Find or create a vowel sound
Layer it beneath your punch layer, ensuring it's subtle in the mix. You don’t want the vowel to overshadow the punch, just to provide depth.
Use a hi-pass filter to cut the low end out of the sample
If necessary, apply some reverb or chorus to the vowel layer to give it a sense of space and smoothness.
Adjust the volume to find the perfect balance between the punch and the vowel. The vowel should support the sound rather than dominate it.
Tip 3: Add a Foley sound under your punch

Foley.. Why?
To add a gritty, industrial texture to your kicks, metallic "Foley" sounds are an essential layering tool, especially in rawstyle. These percussive samples can make your kicks sound more unique and help them cut through the mix.
A good collection of these sounds is key, and if you're an FL Studio user, you're in luck. There's a solid library already built-in. Just navigate to:
Packs > Drums (ModeAudio) > Foley
Go experiment with these sounds to give your kicks that extra metallic punch.
Tip 4: Use Guitar Rig to Layer Texture on Your Punch
Guitar Rig is one of the best secret weapons for hardcore kicks overall. Let’s discuss how to use it with your kicks.
Get Guitar Rig. Free version is available from Native Instruments and works great for this.
Here is how to do it:
Clone your existing punch layer and route the clone to a separate mixer channel.
Add Guitar Rig to the cloned punch and choose a preset that adds texture, distortion, or space.
Apply a high-pass filter to the Guitar Rig layer. This ensures it only adds brightness and texture without clashing with the low-end of your main punch.
Use volume automation (or a volume envelope) to make the layer hit only at specific points if you don’t want it playing all the time.
Now you can scroll through presets or tweak your own while listening in context. Focus on enhancing the character—not overpowering the punch.
This trick is especially useful when your punch feels too clean or lacks identity. With just a few tweaks, Guitar Rig can turn a flat punch into something raw and expressive.
Tip 5: The barking dog punch
It might sounds weird but it also works better than you might think. It’s all about subtle layering. Let’s go!
Find a sample of a dog barking. Short, punchy barks work best—think "woof" more than "howl."
Here is how to do it:
Load up FL Studio’s built-in Vocoder (not Vocodex!) and process the bark to make it deeper and more focused.
Try lowering the mid bands in the vocoder to give the sound a darker, more controlled tone.
Layer the processed bark under your main punch. Keep the volume subtle—this is a texture layer, not the main focus.
You can high-pass or EQ the bark to blend it better with the punch, but keep some of its natural barky character.
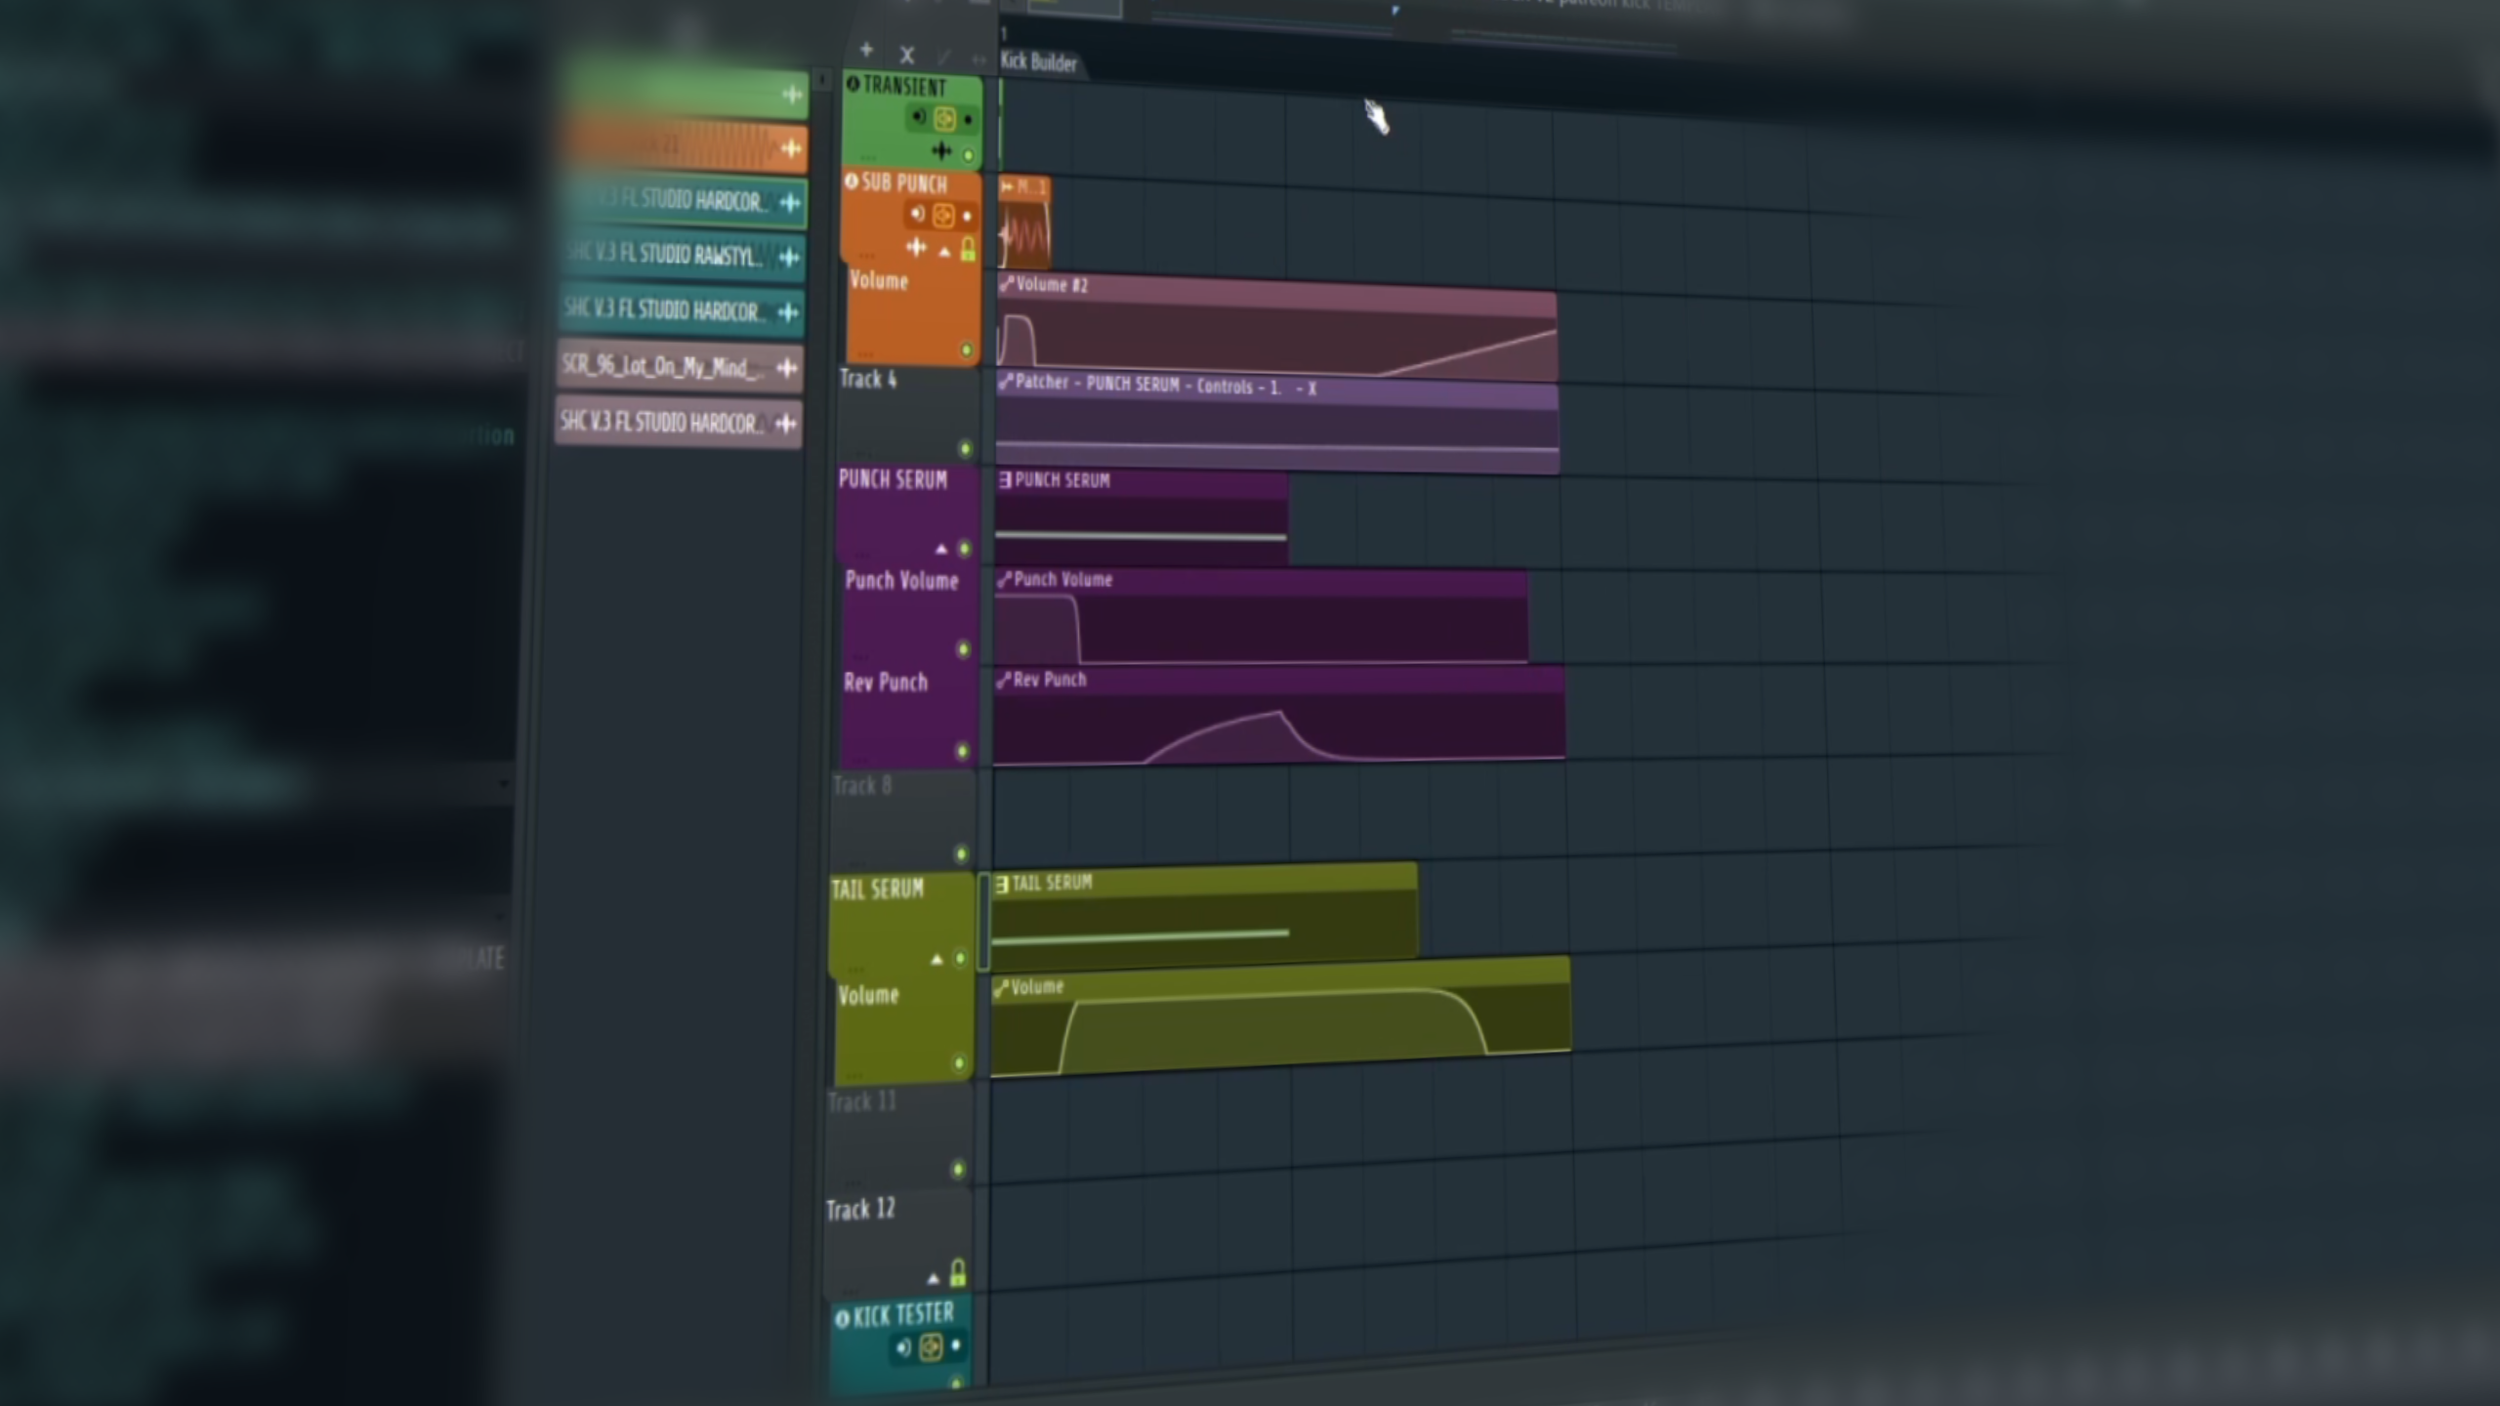
Tip 6: The Strech Method (For the Modern “Robotic” Sound)
It’s always good idea to strech.
You might also want to stretch your kicks to make them more interesting.
Here is how to do it:
Load a sample in to the playlist.
Open the sample settings window.
Go to “time stretching”.
Mode: “Stretch”.
Use the “Time” knob to lengthen the sample, don’t be subtle.
Cut a part of the stretched sound and layer it on top of your punch.
Add that “reverse punch” reverb to it with Reverb automation.
It’s a great effect for kick switches or just adding variation to your punch sound.
Tip 7: The most powerful tip this far

You’ve probably noticed how we can take sounds that have “nothing to do” with actual hardcore kicks. Where do we get all of those sounds?
This is still one of my favorite tips to go for.
Go to www.elevenlabs.io
Log in to the website
Go to “Sound Effects”
Now, you can literally tell the ai to create anything. You can even try something like “Tonal Hardstyle Kick” and it will create really interesting sounds you can use for layering.
Remember to think outside the box and try different prompts like, create explosion sounds, animal sounds or whatever and try to layer them to your kicks.
PRO TIP: Use chatgpt and say something like “I’m making hardcore kicks and I want to use Elevenlabs sound effect section to create layers. Give me 10 Promts to use”.

Want to dive deep in to hardcore kick design?
Check out this deep dive about the topic on my Patreon page.
Tip 8: How to make that “Deep and Tonal” punch sound?
Choose a metallic snare sample. You can find these from Riddim or Dubstep sample packs.
Here is how to do it:
Make sure that the snare itself is the correct key for your track. (Pitch correct it if needed)
It’s also recommended to cut just the “beginning” of the snare for this to work.
Add a Equalizer in to the mixer and boost the snare with a tight bell filter
When the snare “rings” nicely we are really close
Now add distortion like “Fast Distortion 2” or choose your own. Sometimes just using a clipper works nicely too. (I also sometimes add the FL Studio Disperser from patcher before the distortion to smooth out the end result).
We are trying to “crush” or “Flatten” the sound with the distortion.
Afterwards you can add a EQ Plugin and mix it to your liking and layer it on top of your existing punch.
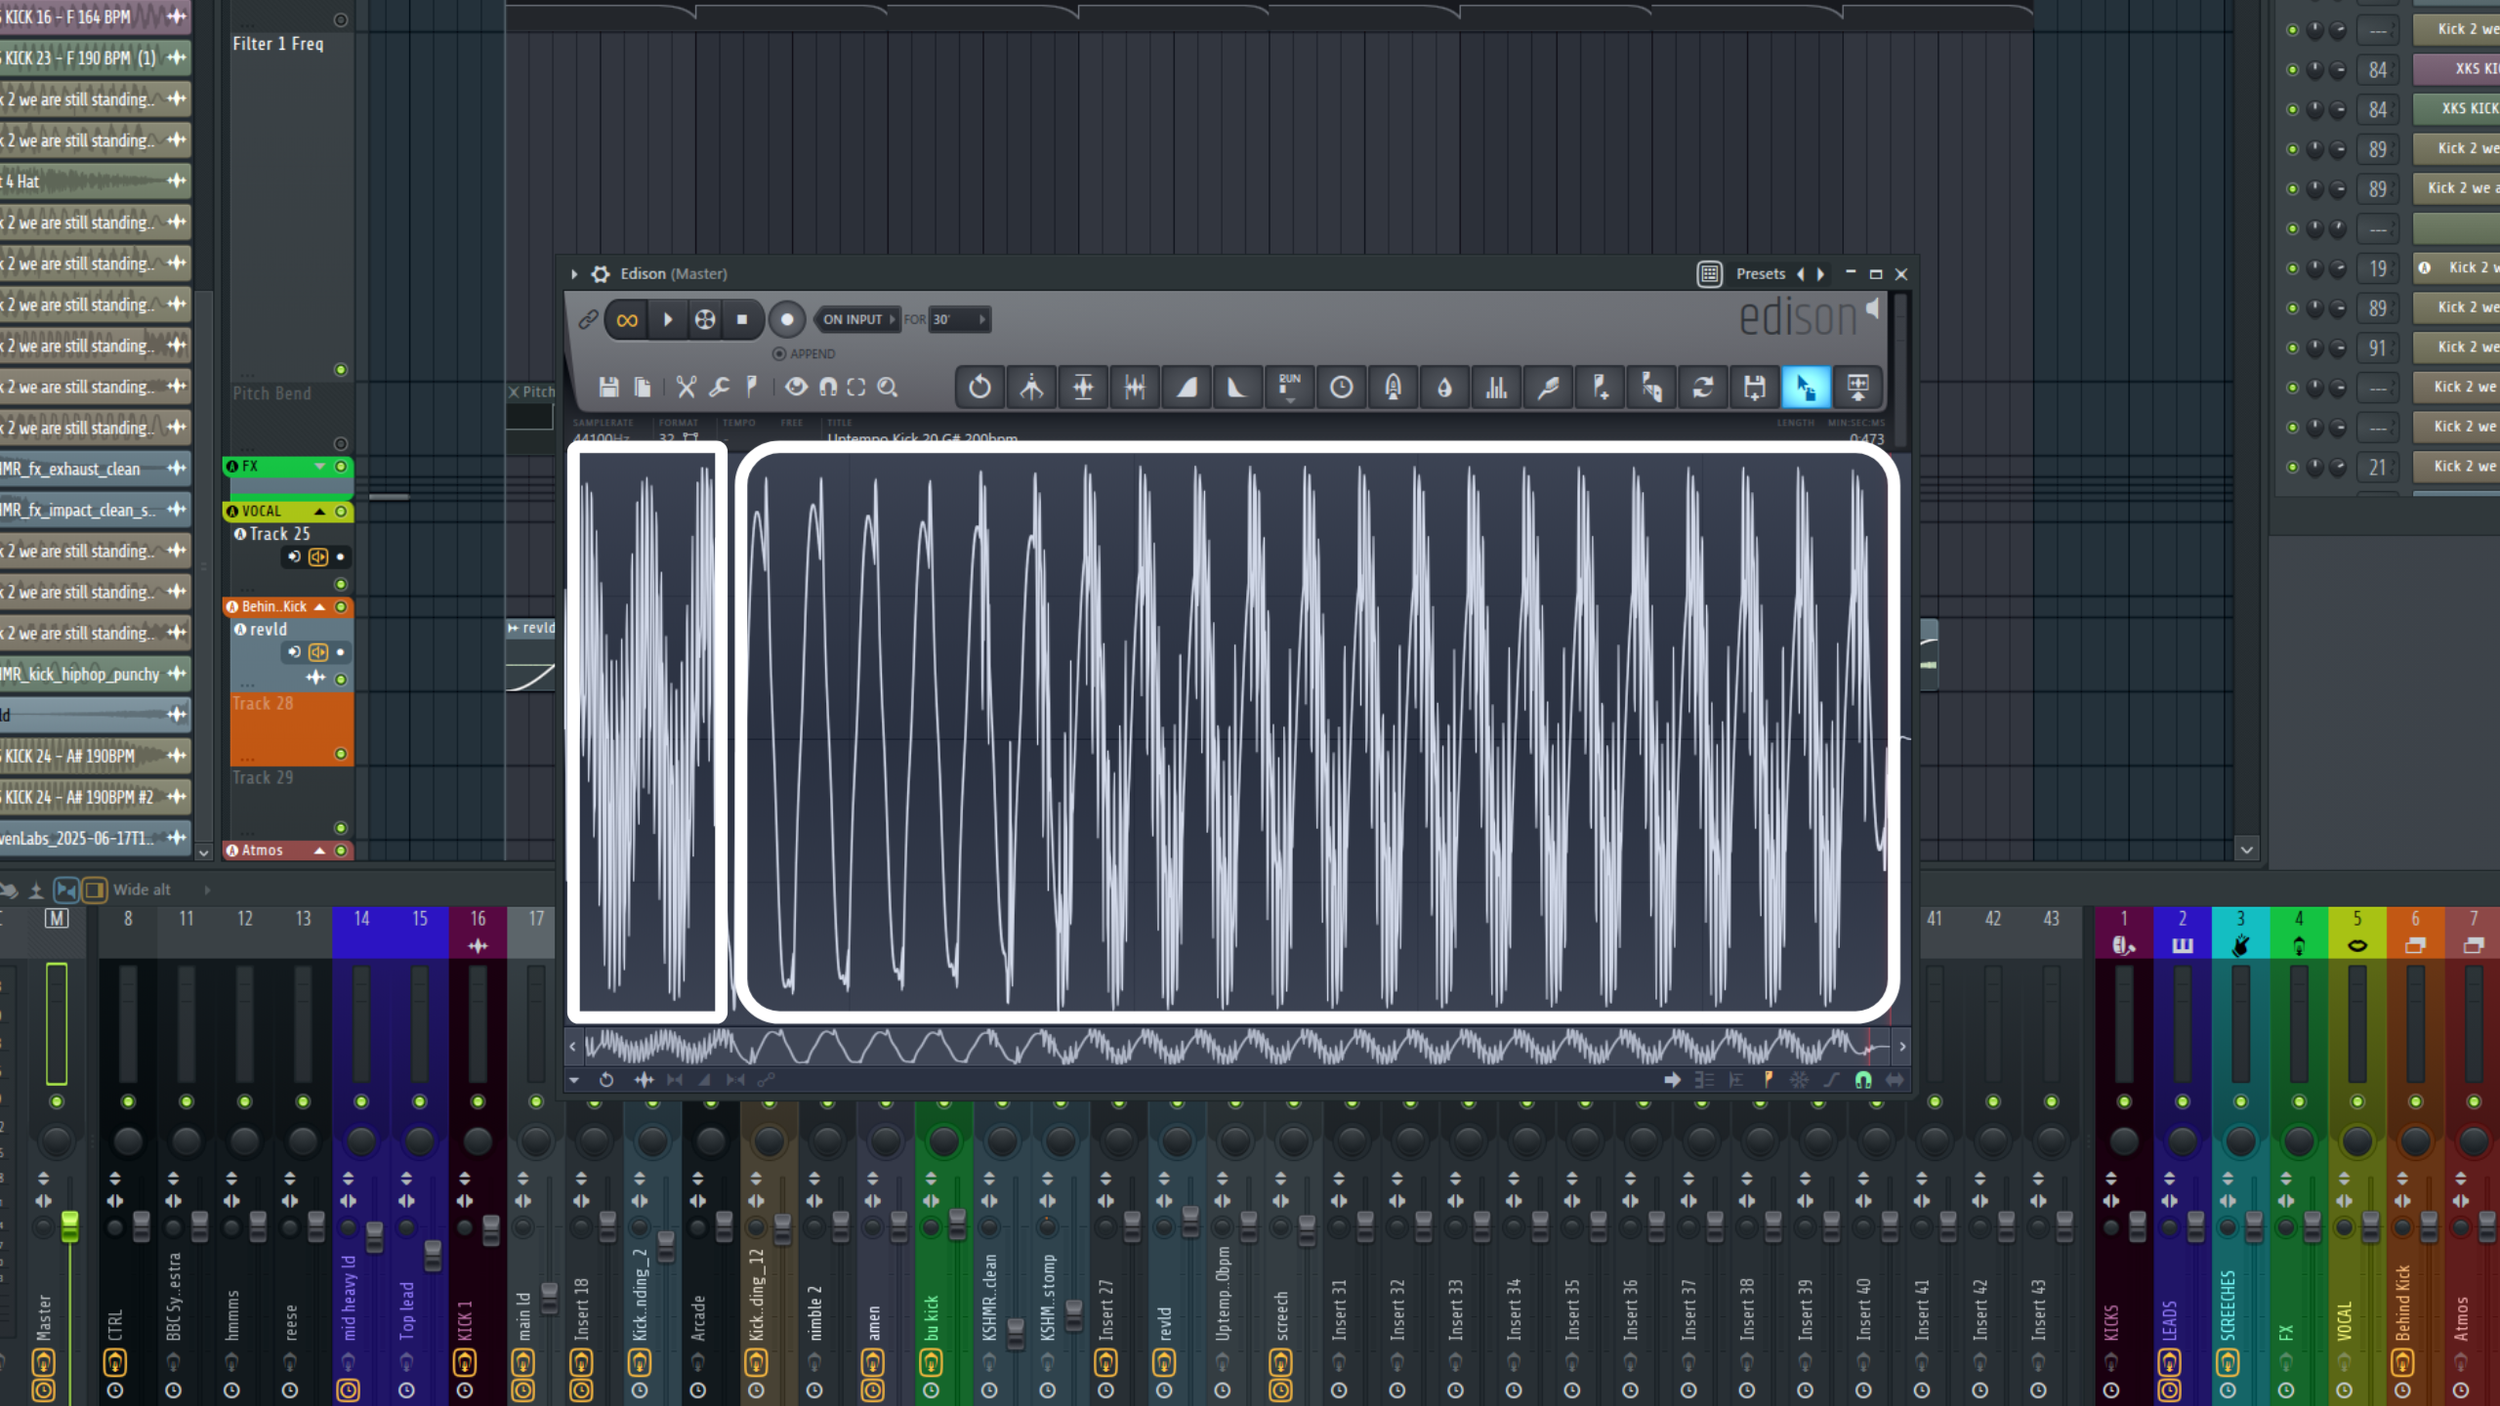
Tip 9: Fruity Granulizer

Granuliuzers are a huge part of modern hard dance sound design, you can create those modern raw punches with ease by using granulizers.
Check out the video on my patreon.
Here is how to do it:
Load Fruity Granulizer.
Drag and drop your kick sample in to the plugin.
Use the “Grains” section (4 Knobs on the top) to edit your sound.
Play C5 and start to move those knobs.
A great starting point is to move the “attack” to almost Zero. Hold to almost zero as well.
Now play around with the “GR. Spacing” and “Wave Spacing” knobs and play the sound as you do.
You can make these really cool “Phasing” style effects with that.
You can just print out the sound when you find something you like.
PRO TIP: Add a midi clip and play your sound in the playlist, now automate the controls inside granulizer to create awesome punch effects.
It takes some time to get the hang of it, but it will be worth it!
Tip 10: ADD Low end rumble for the punch

Let’s use your existing punch to create some nice low end rumble to layer under it.
Here is how to do it:
Take your existing punch.
Go to mixer effects and add “Distructor” and choose the “empty” preset.
You can add multiple different modules inside of this plugin
Add “Speaker” to the first module and “Distortion” to the second module after the speaker.
For the Distortion module I recommend to use “Fast Dist”.
Speaker module settings: “Stereo Sep in & Stereo Sep Out” 100% Merged (Or both knobs to the right).
Now choose any of the “Combo” presets from the speaker section.
I’ve noticed that these combo presets usually add a nice “low end rumble” for the existing punch, if your punch is lacking in the low end. Sometimes using the “Soft Clipper” instead of the “Fast Dist” provides a much smoother result.
It’s also recommended to add more “OUT” volume for the speaker section.
Then just layer the low end rumble version under your existing punch.
the conclusion
Although this post is just a starting point, I hope you found some useful ideas to transform your sound. While I’ll be releasing more content here on the website, if you feel the urge to dive deep and master these topics now, you'll find everything you need on my Patreon.
Patreon isn’t just a support button, it’s a full program designed to help you become a better producer. There you'll get exclusive, in-depth videos that go well beyond the basics, giving you the detailed knowledge you need to take your tracks to the next level.
Thank you for reading this blog post! If you still want to support my work but are not able to financially, the best way to do so is to subscribe to my YouTube channel and leave a comment. Thanks again!